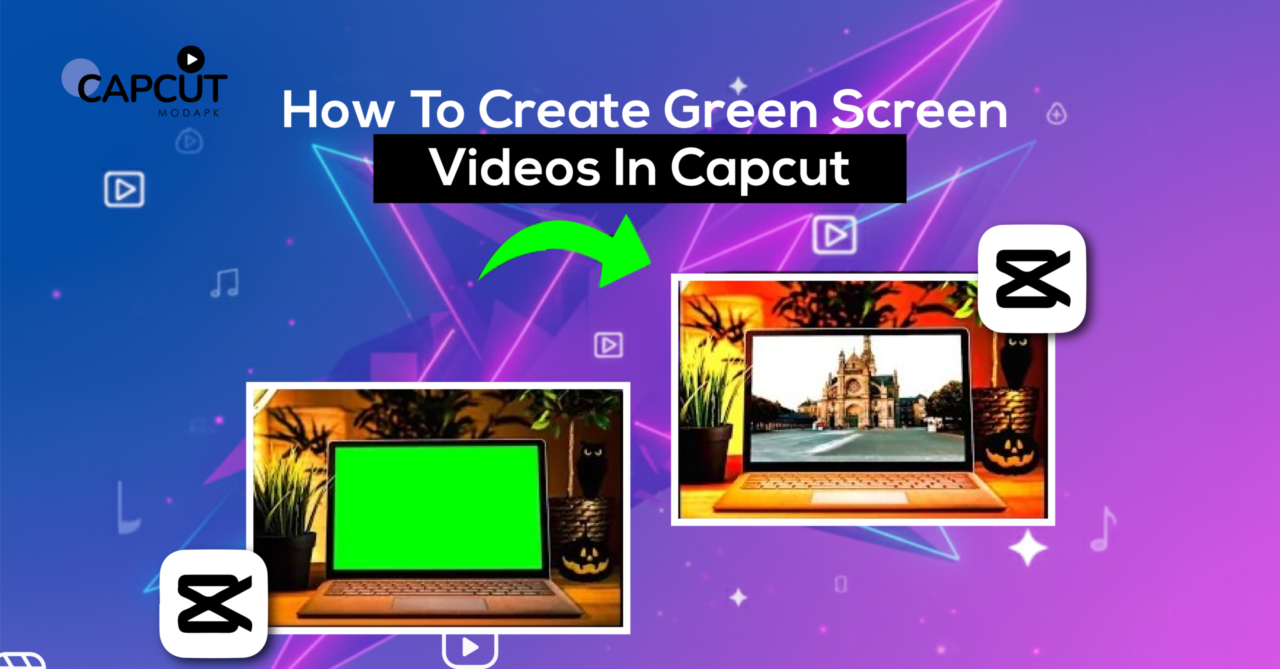
Green Screen on a Phone — Is That Actually Possible?
A few years ago, green screen was something only studios and YouTubers with expensive setups could pull off, with proper lighting, a physical green backdrop, and desktop software that costs hundreds of dollars. Most regular people never bothered because the barrier to entry was just too high.
That has completely changed.
CapCut green screen videos are something anyone can make right now, on a phone, for free. No physical green backdrop is required in many cases. No desktop software. No technical background in video production. Just the app, your footage, and about ten minutes to figure out how the tool works.
This guide walks through the whole process, how the feature works, how to actually use it step by step, what settings matter, and a few things that trip people up the first time. If you have never touched green screen editing before, you will understand it by the end of this.
What CapCut’s Green Screen Tool Actually Does
Before getting into the how, it is worth understanding what is actually happening when you use this feature.
Green screen, technically called chroma key, works by removing a specific color from your video and replacing it with something else. Traditionally, that color was bright green because it is the furthest from natural human skin tones, which made it easier to isolate without accidentally removing parts of the subject.
CapCut handles this in two ways.
The first is the classic chroma key method, where you film in front of a solid colored background, and the app removes that color entirely. The second, and honestly more impressive, is CapCut’s AI background removal, which works even without a green backdrop. It identifies the subject in the frame and cuts the background out automatically.
Both tools live inside CapCut green screen editing, and both are free. Which one you use depends on what footage you are working with.
What You Need Before You Start
Nothing complicated here. A few things make the whole process smoother:
If you are filming with a physical green screen, lighting matters more than the backdrop itself. Uneven lighting creates shadows on the green surface, and those shadows confuse the chroma key tool, it cannot cleanly remove color that varies in shade across the frame. Even flat lighting on the backdrop gives you the cleanest removal.
If you are using AI background removal without a green screen, contrast between your subject and the background helps a lot. A person standing in front of a plain white wall works better than someone standing in a cluttered room with lots of similar colors to their clothing.
Your replacement background, whatever you want behind the subject, should be ready before you start editing. That can be a video clip, a photo, a solid color, or anything you have saved to your phone.
That is genuinely all the preparation needed for most capcut green screen videos.
How to Use Green Screen in CapCut: The Full Walkthrough
Step 1: Start a New Project
Open CapCut and tap New Project. Import your background footage or image first, the thing you want to appear behind your subject. This goes on the main timeline as your base layer.
A lot of people do this backwards and wonder why the layering looks wrong. Background goes in first, subject comes on top.
Step 2: Add Your Subject as an Overlay
Once your background is on the timeline, tap the “Overlay” option at the bottom of the screen. Tap “Add Overlay” and select the footage of your subject, the clip where the person or object appears in front of the green screen or plain background.
This places your subject clip on a separate layer above the background. You should now see both layers in the timeline.
Step 3: Open the Chroma Key Tool
Tap on your subject overlay clip to select it. In the editing menu that appears along the bottom, scroll until you find “Chroma Key.” Tap it.
A color picker tool will appear on the screen. Drag it to the green area of your footage, or whatever color your backdrop is. CapCut will immediately start removing that color from the clip.
Step 4: Adjust the Settings
Three sliders appear after you pick the color:
Intensity controls how aggressively the tool removes the selected color. Too many low and green patches remain. Too high and it starts eating into your subject, removing parts of their clothing or skin if those colors are close to green. Find the middle point where the background disappears cleanly without affecting the subject.
Shadow controls whether the tool removes shadows cast on the backdrop. Turn this up if you can see faint shadow edges remaining after the main color is removed.
Edge Thickness softens or sharpens the edge between your subject and the new background. A slight softening usually looks more natural; hard edges make the composite look cut-and-paste.
Spend a minute on these three sliders. Getting them right is the difference between a result that looks convincing and one that looks like a rushed edit.
Step 5: Use AI Background Removal If You Did Not Use a Green Screen
If your footage does not have a green backdrop, skip the Chroma Key tool and look for “Remove Background” or “Auto Removal” in the overlay editing menu instead. CapCut’s AI analyzes the frame and cuts out the background automatically.
It works surprisingly well for stationary subjects with clear contrast between the person and the background. It struggles with fast movement, complex hair, or scenes where the subject and background share similar colors. For those situations, a physical green screen genuinely gives cleaner results.
Step 6: Resize and Position Your Subject
Once the background is removed, pinch to resize your subject overlay and drag it into position within the frame. Make sure the scale and positioning feel natural relative to the background; a person who looks too large or too small compared to the background environment immediately breaks the illusion.
Step 7: Match the Color Grading
This step is optional, but it makes a huge difference. Your subject was filmed in one lighting environment, and your background might be from a completely different one. If the color tones do not match, the composite looks fake even if the cutout is clean.
Tap your subject overlay and go to Adjust. Tweak the brightness, warmth, and contrast until the subject feels like they belong in the scene rather than being placed on top of it.
Step 8: Export
When everything looks right, tap the export button, choose 1080p at the highest quality setting, and save to your gallery. For TikTok, Reels, or YouTube Shorts, make sure your canvas is set to 9:16 before you export.
CapCut Chroma Key Tutorial: Things That Go Wrong and How to Fix Them
Even with good footage, a few problems come up consistently in CapCut chroma key tutorial situations:
Green fringing around the edges of your subject: This is the most common one. A thin green halo remains around the person’s outline after removal. Fix it by increasing the Intensity slightly and softening the Edge Thickness. If it persists, it usually means the original lighting on the green backdrop was uneven.
Parts of the subject are disappearing: The Intensity is set too high, and the tool is removing colors similar to green that appear in clothing or skin. Lower the intensity until those areas come back, then try increasing Shadow instead to clean up the remaining backdrop.
The background shows through in patches: Uneven lighting on the original backdrop again. This is harder to fix in post. You can try increasing the intensity to cover those patches, but watch for the subject being affected. A manual mask works better here if CapCut’s mask tool is available in your version.
AI removal cutting off hair or fingers: Very common with complex outlines. Zoom into the timeline preview and check the edges carefully. The Shadow slider sometimes helps recover fine details. For complex hair, a real green screen with the chroma key method almost always gives better edge detection than AI removal.
CapCut Video Effects Green Screen: Creative Ways to Use This Feature
Most people think green screen just means putting a fake background behind someone. That is the obvious use. But CapCut video effects green screen opens up a lot more:
Put yourself inside footage. Film yourself against a plain wall, remove the background, and drop yourself into travel footage, cinematic clips, or anything else. Travel content creators use this constantly.
Animated backgrounds.: Instead of a static image, use a looping video as your background layer. Moving backgrounds look significantly more dynamic than still photos.
Text that appears behind the subject. Layer your subject over a text clip so the text appears to go behind it rather than in front. Achieved by placing the text on the base layer and the subject as the overlay.
Product showcase videos. Film a product against white or green, remove the background, and place it over branded visuals or lifestyle footage. Common in e-commerce content.
Split scene effects. Two different background environments on either side of the frame, with the subject appearing in the center. Uses the overlay positioning and masking tools together.
CapCut Pro Green Screen vs Free Version
People ask about this a lot. Here is the straightforward answer.
The core chroma key tool and AI background removal are available in the free version of CapCut. You do not need a subscription to make green screen videos.
CapCut Pro green screen access adds some additional refinements, more precise edge adjustment tools, higher quality AI removal in complex scenes, and access to certain background replacement templates that are locked behind the subscription. For most creators doing standard green screen work, the free tools are genuinely sufficient.
If you want to explore the full feature set, the CapCut Pro APK download gives you access to everything the app offers, including the enhanced background tools.
CapCut Mod APK Green Screen: A Quick Note
Some people specifically search for the CapCut mod apk green screen because they want premium features without a subscription. The green screen and chroma key tools are actually free in the standard app, so there is no specific advantage a mod APK gives you for this feature in particular.
Beyond that, mod APKs carry real security and privacy risks worth considering before downloading from third-party sources. The CapCut Mod APK features available through modified versions do not add meaningfully to the green screen toolset that is already free in the official app.
If you want more editing capabilities overall, the CapCut editing tips built into the official app through its help section cover a lot of ground that most users never explore.
Final Thoughts
CapCut green screen videos used to feel like something only experienced editors could pull off. The reality now is that the whole process, from importing footage to exporting a finished composite, takes about fifteen minutes once you have done it a couple of times.
The chroma key tool is straightforward. The AI removal is impressive for what it is. Neither requires expensive equipment nor technical expertise to use effectively.
Start with a simple test. Film yourself in front of a plain wall, use the AI removal, and drop a photo behind you. Get comfortable with the layering system and the adjustment sliders. From there, the more complex green screen techniques follow naturally.
The feature is free. The app is free. The only thing between you and your first green screen video is actually opening the app and trying it.