Master CapCut 3D Zoom Effects on Professional videos.
Creating amazing videos with dynamic visual effects has become a necessity for contemporary content creators. The CapCut 3D Zoom Tutorial, coupled with motion blur, makes otherwise boring videos engaging, so people are less likely to scroll past. No matter whether you are editing on Instagram Reels, TikTok videos, or YouTube, an understanding of these influential effects will help a lot improve your editing skills.
CapCut 3D Zoom Pro Effect:
This effect resembles a zoom effect in which the camera is moving. Knowledge Base CapCut Pro 3D Zoom Pro Effect: This effect is similar to a zoom effect, where the camera is in motion.
What Makes 3D Zoom Essential
CapCut 3D Zoom Pro effect provides depth and dimension by simulating camera motion, i.e., moving towards or away from your subject. This film trick gives it a professional touch that resembles costly camera gadgets. Key benefits include:
- Improved visual interest: that gets the attention of the viewer at once.
- Cinematic quality, professional: without the use of costly camera equipment.
- Theatrical revelations: that create suspense and thrill.
- Emphasis of the focus: on certain aspects or goods.
Types of 3D Zoom Available
CapCut Pro is available in a variety of flavors to accommodate content of various styles:
- Smooth Zoom: Ideal smooth transitions and business content.
- Bounce Zoom: It provides lighthearted fun to fun videos.
- Elastic Zoom: Drama on significant occasions.
- Linear Zoom: Strauss movement with the simple movement.
Capcut 3D Zoom in: Step-by-step Guide.
Preparing Your Project
Start with getting your place of work ready:
- As a result, record high-quality videos (1080p or more suggested)
- Add the clips to the timeline according to the order of what is wanted.
- The best results are achieved when the lighting is sufficient and the footage is steady.
- Arrange assets in folders according to efficient working.
Applying the 3D Zoom Effect
To make a 3D zoom to your clips, follow the following steps:
- Click on the clip that you have chosen in the timeline.
- Click on the bottom toolbar in the Effects menu.
- Choose Video Effects from the categorization.
- Three-dimensional zoom search or trends.
- Test before applying the various styles.
- Tap your effect of choice to make an immediate effect.
Customizing Your Zoom
Get your effect right by making these adjustments:
- Duration Control: The drag effect boundaries are used to control the length of the zoom.
- Intensity Slider: Designed to affect the zoom intensity.
- Start Point: Position in which you have opened Zoom in your frame.
- End Point: Decision to find the final zoom position.
- Speed Curves: Produce acceleration or deceleration.
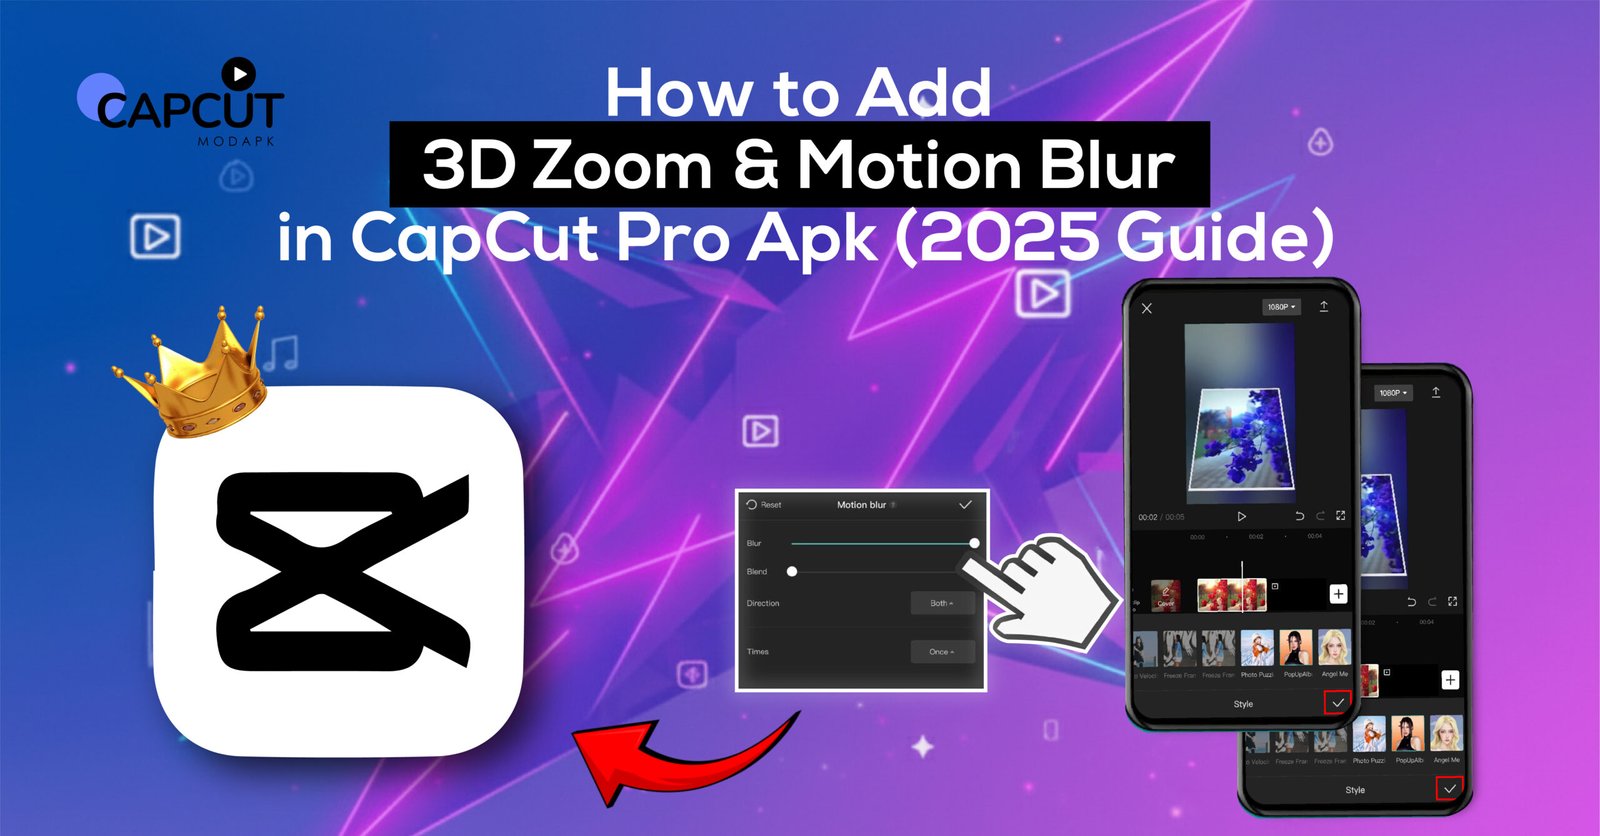
CapCut Motion Blur Effect: Cinematic Effects.
Why Motion Blur Matters
The CapCut APK motion blur effect is a duplicate of the behavior of a natural camera in recording movement. Benefits include:
- Fluid motion. There are smooth movements between the frames.
- Natural, professional look, getting rid of choppiness.
- Better realism during the action scenes.
- Film quality, which competes with professional ones.
Applying Motion Blur
Per instructions below, add motion blur to your clips:
- Choose the clip where the motion blur has to be enhanced.
- Go to the Effects category, then the Video Effects category.
- The two search for Motion Blur in the effects library.
- Comparison of various presets.
- Use the effect that fits your vision.
- Slide intensity up or down to the required strength.
Photo Animation 3D Zoom Techniques of CapCut.
Bringing the Lifeless to Life.
Turn photographs into motion:
- Imports into the CapCut Pro project.
- Increase the length of the timeline.
- Add the CapCut 3D zoom effect to the photo animation.
- Select zoom direction (in or out) concerning the composition.
- Tilting of the images to add a dynamic effect.
- Add text overlays that are synchronized with zoom time.
Production of attractive Slideshows.
- Switching between zooming directions of images.
- Begin with an outward zoom and then continue inward zoom.
- Introduction of smooth transitions by fade or slide effects.
- Parallax effects: Depth perception.
- Keep a regular time schedule for the photos.
- Incidents of background music to create a mood.
CapCut Desktop Motion Blur Biography.
Desktop Version Advantages
The desktop application has better features:
- Processing Power: Edit complicated content fast.
- Big Workspace: See more of the timeline at once.
- Keyboard Shortcuts: Quicken repetitive habits to a great extent.
- Precise Controls: Adjustment of the numerical parameters.
- Batch Processing: Process a batch of clips at once.
- Live Preview: Preview effects in real time.
Professional Workflow Tips
Efficiency on desktop: maximize efficiency:
- Develop individual effect collections in order to have a consistent style.
- Take advantage of the preview window for immediate feedback.
- Favorites: Favorite common effects so they can be accessed conveniently.
- Work faster using keyboard shortcuts.
- Save export customs to future projects.
Adding 3D and Motion Blur to a Single Image.
Best Combinations of perfection in the CapCut 3D Zoom Tutorial.
Create a strategy of combining effects to achieve the highest effect:
- Use the 3D zoom effect as a base effect.
- As a secondary enhancement, add motion blur.
- Timing adjustments such that the effects complement.
- Correlate with beat hits or sound peaks.
- Start Zoom 3D before the audio climax.
- Enable that motion blur is enhanced by sound.
Combined Effects Best Practices.
One can achieve professional outcomes by following this:
- Combined effects should only be used at critical times.
- Do not keep visual rest in dirty places.
- The intensity of the balance is so as not to overwhelm the viewers.
- Do experimentation on various combinations and then settle.
- Check on various devices and publish.
Export Settings: Getting the most out of them.
Quality Recommendations
Set export preferences correctly:
- Resolution: 1080p, and 4K in case of professional material.
- Bitrate: Quality preservation of bit rate-High or Maximum.
- Codec: Codec is H.264 to have broad compatibility.
- Frame Rate: Frame rate should match source (typically 30fps or 60fps).
- Format: MP4 to have a universal playback.
Platform-Specific Settings
Personalize to various social media platforms:
- Instagram Reels: 0.5-1 second zoom effects, heavy motion blur.
- TikTok: Fast effects that are characterized by heavy motion blur.
- YouTube: The effects are long (2 seconds) and fine blur.
- Facebook: Medium-intensity impacts both ways.
Additional Problems: Troubleshooting.
Remediating Performance Issues.
Solve editing lag using the following solutions:
- Make the quality of the preview low or medium.
- Open up any superfluous background programs.
- Use proxy files regarding big projects.
- It is best to clear the cache regularly.
- Upgrade CapCut Pro to the new version.
Resolving Export Issues
Discuss quality issues at the export stage:
- Before rendering, have higher settings of the bitrate.
- Make sure that there is adequate storage space.
- Check the internet connectivity to the cloud to export.
- Resume the application in case of an export freeze.
- Updating device drivers to compatibility.
Conclusion of CapCut 3D Zoom Tutorial
The ability to use CapCut 3D zoom effects and CapCut motion blur effects is an important skill needed in modern content creation. Such tricks transform raw footage into professional content that attracts attention and encourages people to interact. Always rehearse to use such effects, have a go through various combinations, and find your own style of editing. It will take dedication, creative testing, and experimentation to make engaging videos that will shine on any social media platform and gain a loyal following.